With Adalo, you can create a marketplace where merchant can post their products or services for sale, and consumers can purchase them.
With Marketplace Payments, you can ensure that when a consumer makes a purchase, the transaction amount is deposited direction (and automatically) into the Merchant's Stripe account, so that they receive their funds immediately and you don't have to deal with the headache of managing Merchant payouts.
Optionally, you can choose to charge a platform fee on any transaction that will be deducted from the total transaction amount and deposited into your Stripe Account before the remaining amount of the transaction is transferred to the Merchant's account.
There are three steps to setting up Merchant Payments in your App:
- Set up your Stripe Account for Stripe Connect
- Allow Merchants to Connect their Stripe Account to your App
- Configure the Consumer Payments to go to the Merchants' Accounts
Set up your Stripe Account for Stripe Connect
In order to enable Merchants to sell good and services on your platform, you need to register your Stripe account as a Stripe Connect account.
1) Go to https://dashboard.stripe.com/connect/tasklist
2) Select Platform or marketplace

3) Select your Industry
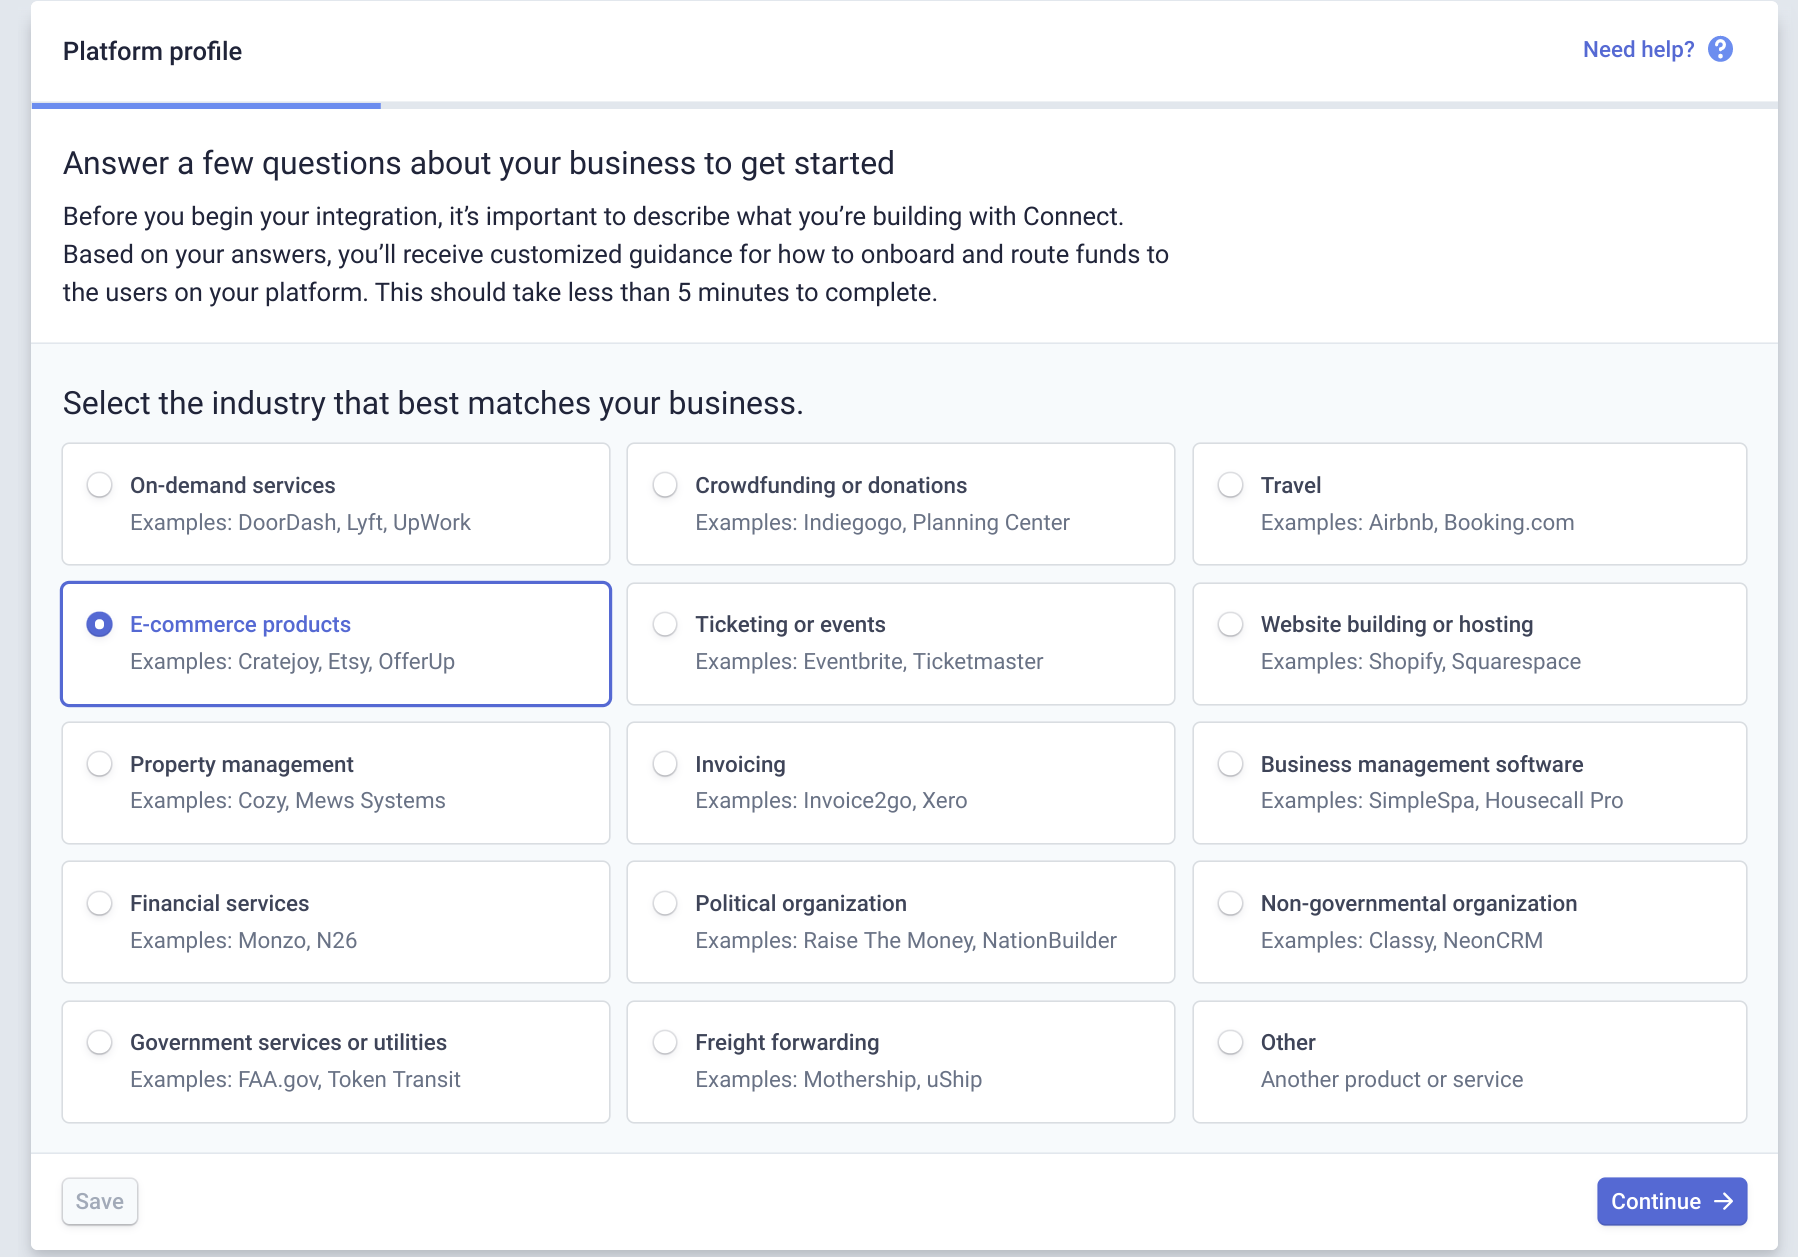
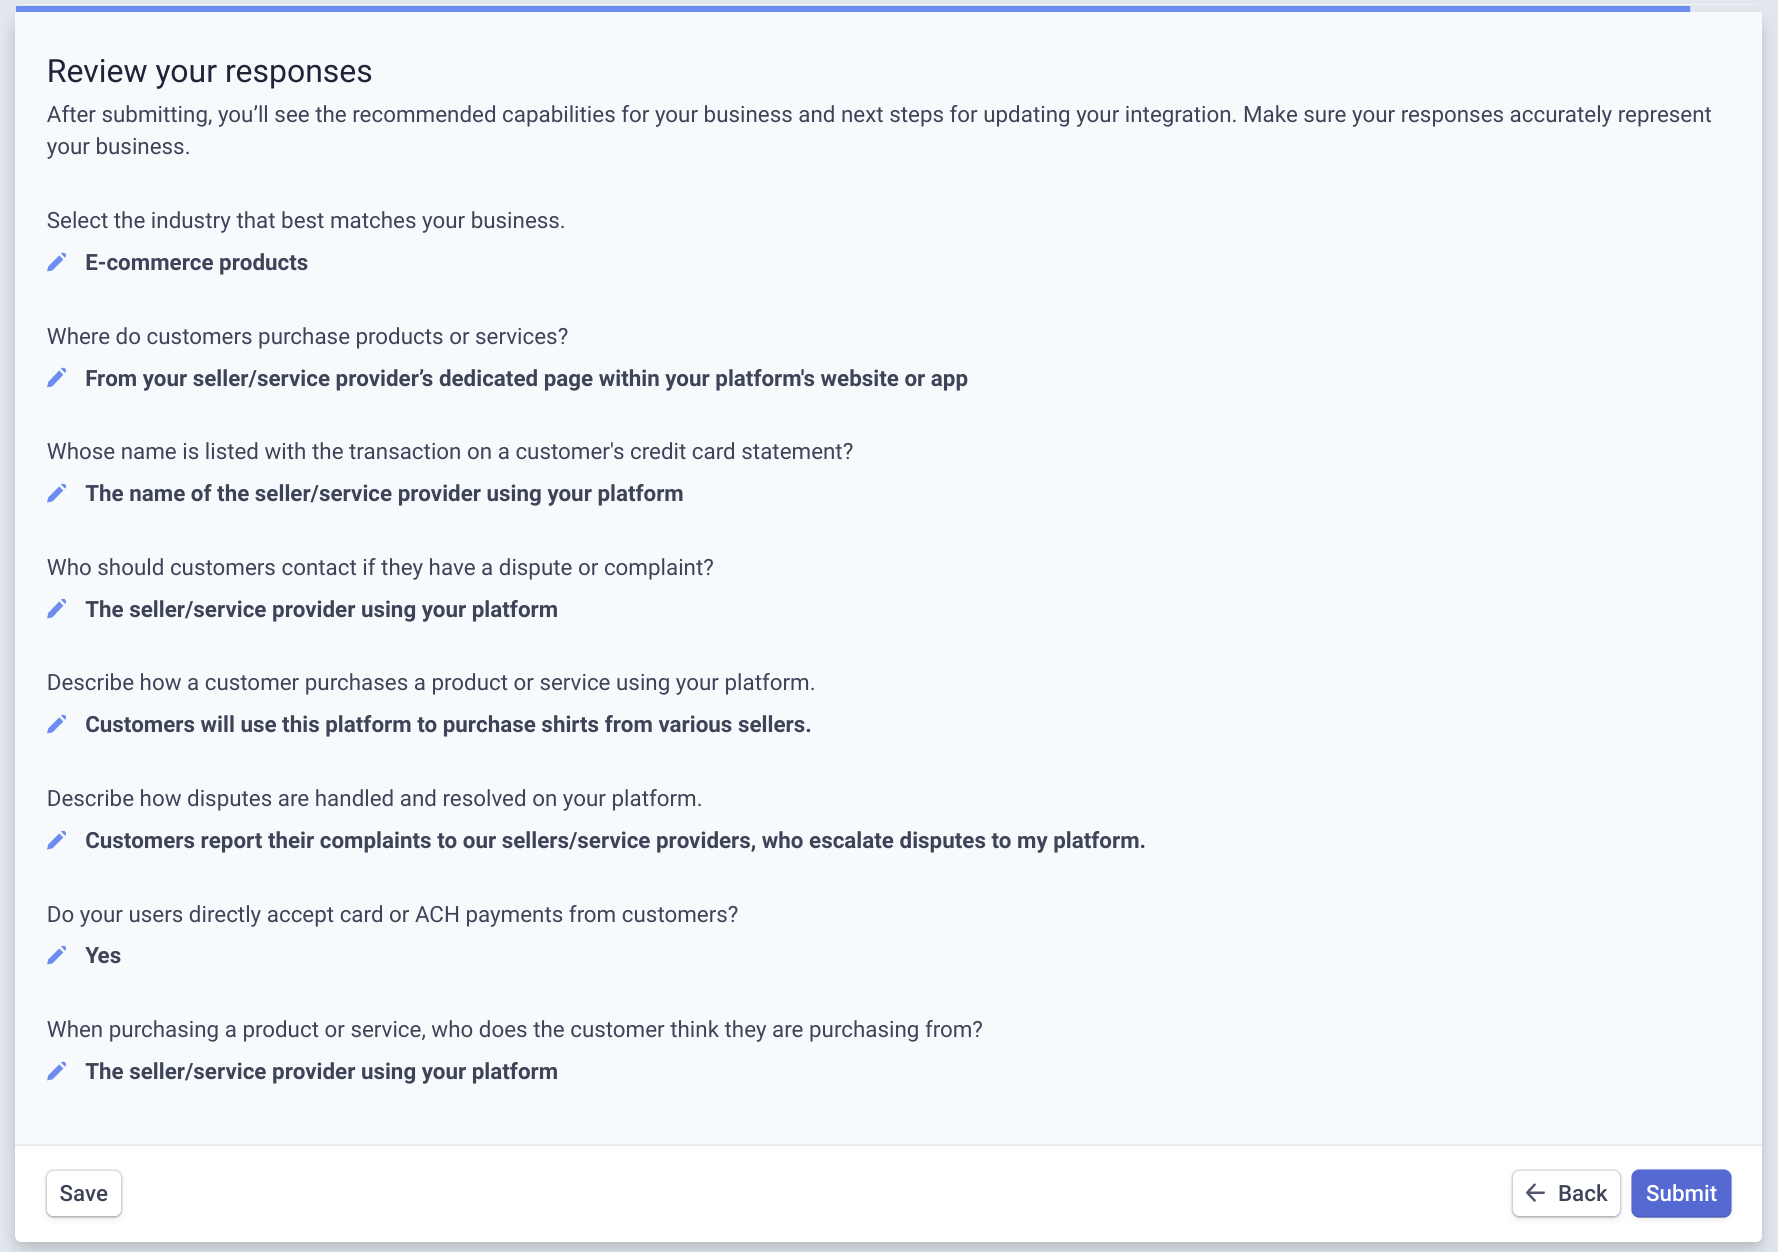
4) Select either 3rd option to indicate that customers will make purchases from a seller's page on your platform.

5) Select that it will be the name of the Seller on the customer's credit card statement

6) Select that customers should contact the seller if they have a complaint

7) Select Yes, your sellers accept card and ACH payments from customers

8) Select that customers know they are purchasing from your sellers

9) Review your responses and click Submit
10) It can take a couple of business days for Stripe to approve your Connect account. Once your are approved, you can continue with your marketplace set up.
Allow Merchants to Connect their Stripe Account to your App
To enable consumer payments to go to your Merchant's Stripe accounts. You need to create a screen in your app where Merchants can connect their Stripe account to your app.
(Most commonly, in your marketplace app, you will have a Collection of Merchants, but if you don't have a Merchants Collection, you could add this property to your Users Collection)
1) In Adalo, in the left tool bar, click the Database Tab
2) Find and expand the Merchant Collection (or create one if you haven't already)
3) Click Add Property, then choose Text as the type of property
4) Name the new property "Stripe Account Id"
.gif?alt=media&token=1e6302c6-d20e-4432-9423-d4bedf807126)
1) On the screen where merchants can edit their profile, add the Stripe Connect component. Do this by clicking the Plus button in the left toolbar. Then scroll down and expand the Stripe Payments section, and click and drag the Stripe Connect component on to your screen.
.gif?alt=media&token=9822607b-60e1-41d5-85ef-0c28e43145de)
1) First, connect YOUR Stripe Account to your Adalo App by clicking the connect with Stripe button at the top of the left panel

2) Set up the "Redirect URI" for your app in your Stripe Account"
1) Copy the URI from the gray box in Adalo
2) In Stripe, go to your Connect Settings page
3) Scroll down to the Integrations section, and, in the Redirects row, click the "+ Add URI" button
4) In the Modal that pops up, paste the URI that you copied from Adalo, and then click the purple Add URI button.

3) Add your Stripe Client Id. You can find your Stripe Client Id also on your Connect Settings page, right above where you added the URI. Copy and Paste this into Adalo

4) Add your Stripe Secret Key. You can find your Stripe Secret Key on your Stripe API Keys page. Click the "Reveal live key token" button, and then Copy and Paste this into Adalo.

5) Select where in the database to save the Merchant's Stripe Account Id, but opening the dropdown, and then selecting Current Merchant > Stripe Account Id

Configure Consumer Payment to go to Merchants' Accounts
1) On your checkout screen, add either the Stripe Payment component or the ACH Payment component by clicking the Plus button in the left tool bar, scrolling down and expanding the Stripe Payments section, and then dragging in either the standard Stripe Payment component or the ACH Payment component.

2) Configure the Payment component as you normally would by setting the payment amount, charge description, etc.
3) Expand the Marketplace section
4) Set the Connected Account ID
1) Click the Magic Text button
2) Select Current Merchant > Stripe Account Id

5) Optionally set a platform fee amount. If the total charged to the customer is $10, and you set the platform fee to $1, then you will receive $1 and the merchant will receive $9. You can also use math for the amount.